Apple Bagging Made Simple
Article by Kathy Hill -
Nearly seven years ago at the beginning of fall, I thought to myself “today is the day.” The apple tree had been lovingly watered, fertilized, pruned, and the fruit had been thinned. It was harvesting time. The excitement was palpable. I had carefully picked close to a five-gallon bucket of apples and with great effort hauled them into the kitchen to start the process for freezing. They were washed and laid out on the counter. I pick up the first apple and cut into it. Excitement turned to disgust, but rather quickly I move onto the next apple with renewed hope. This new hope was quickly dashed as I discovered worms in every apple in the bucket! That was the beginning of my battle with the coddling moth. They won that year, but never again.
I turned to my trusty UC IPM site and began to read about coddling moths and what I needed to win this battle. I tried the cardboard around the trunk. I cleaned up debris and weeds around the tree. I made sure all the fruit had been picked off the tree and no fruit was left on the ground. I spent two more years with zero harvest until as a last resort I decided to try bagging my apples. I followed the directions to the letter and I’m a believer!
I’d like to share with you the process and hope that if you have suffered like I have, you will give it a try. So, here we go.
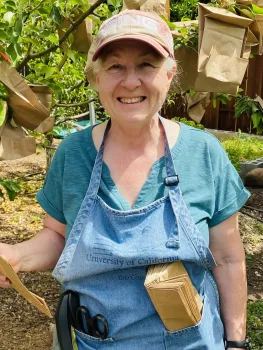
First, gather your materials. You will need an apron or a vest with pockets, a pair of small pruning shears, a lightweight stapler, and paper lunch bags. For the lunch bags, a good size is what they call the four pound bag and is around 5x 3x10.5 inches. These lunch bags can be purchased at your local grocery store. Your stapler needs to be the kind you can hold in one hand and operate. You will also need a pair of scissors you can cut paper with. You will need to decide how many apples you want to bag. My first time I bagged all the apples on the tree, and it took me two days. Needless to say, that was overkill. Now, I use two hundred bags. I don’t get every apple, but two hundred apples are more than plenty for me for a season.
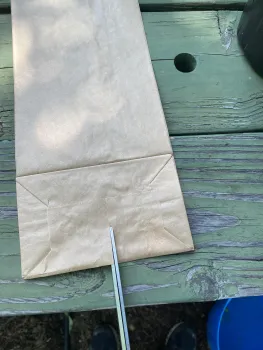
Next, lay out your lunch bags and cut about a two inch slit in the bottom of the bag (see photo). Then gather up your bags, about ten at a time, fold them in half lengthwise, and put them in one of your pockets slit end up, so you can easily pull out a bag with one hand. Put your stapler in one of the other pockets hanging over the top of the pocket so it is easy to grab. Put your small pruning shears in the pocket with the stapler .
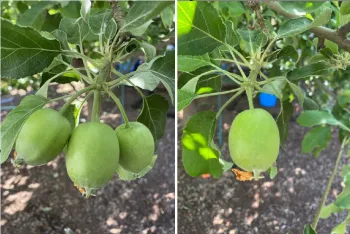
Now, you are ready to get to work. This next step is the hardest in my opinion. Choose a cluster of apples pick the largest one and using your pruning shears cut off the rest of the apples. Continue thinning this way leaving only one apple per cluster. It feels wasteful, but it is necessary for a really good harvest and to be able to bag. You can either toss those apples to the ground and rake them up later or put them neatly into a bucket. Your choice.
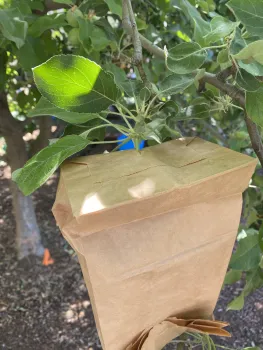
Remove one paper bag and put your hand in it to open it up. Gently slide the slit over the little apple, making sure the bag is right up next to the stem. Remove your hand, fold the bottom of the bag up about an inch or two and staple it closed with one staple (see photos).
There, you have finished one apple, now you can move onto the next 199! Since I have been doing this now for a number of years, I’ve decided to break it down into two days, two hours each day. I put on a good podcast or audio book and bag away. You will be surprised at how quickly the time passes.
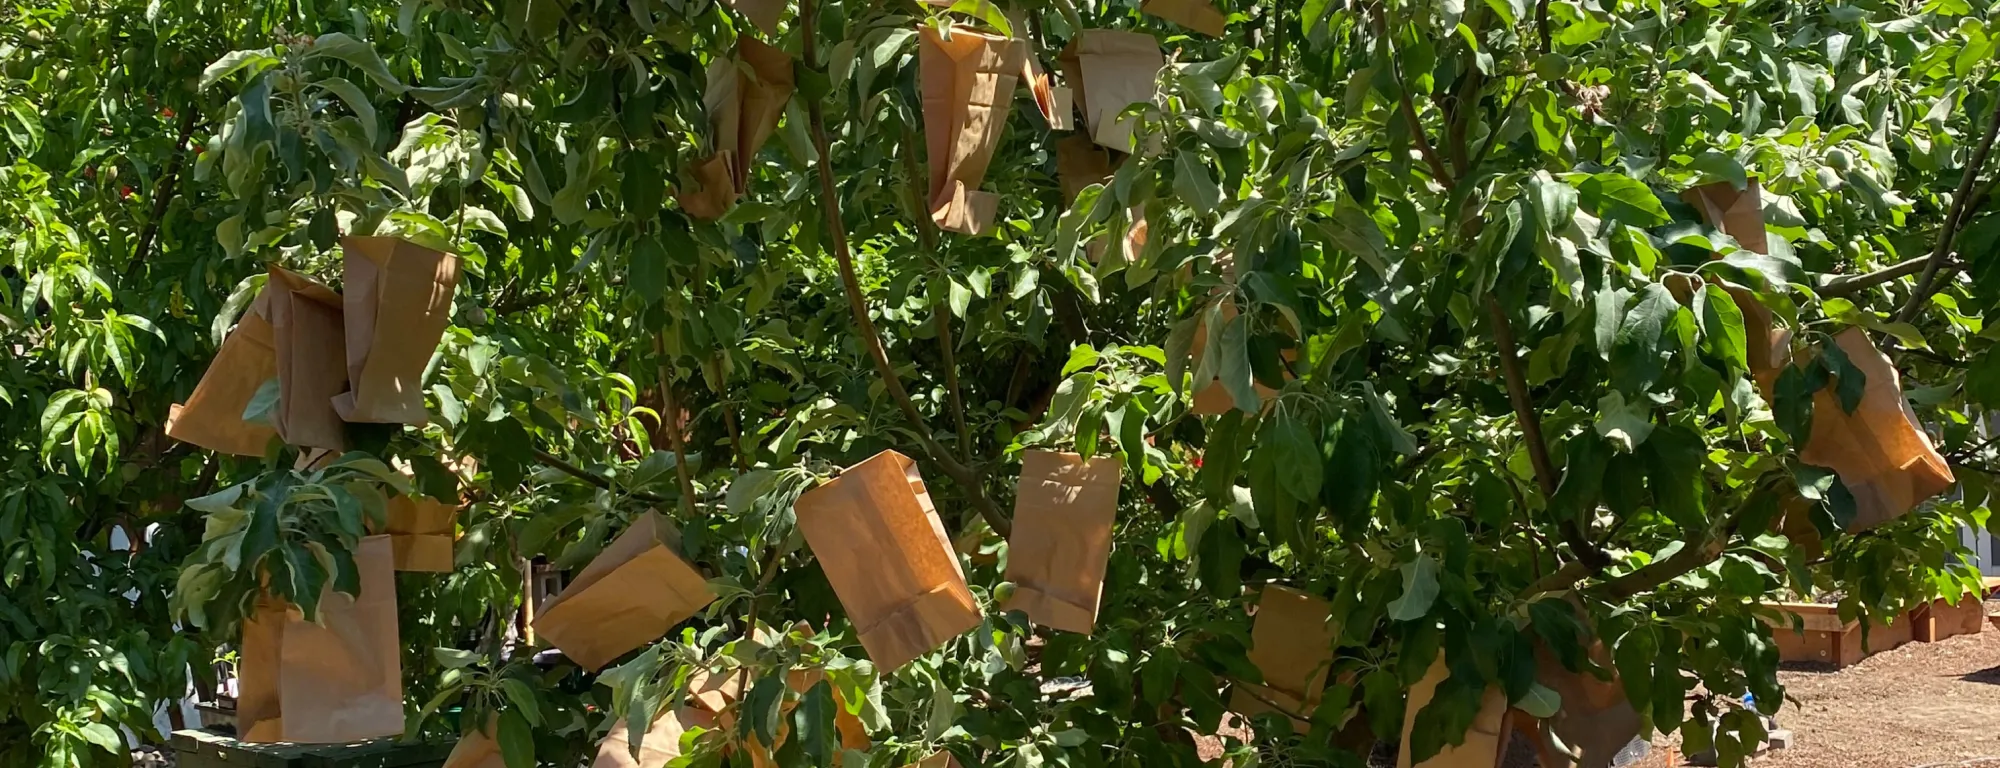
A benefit to this method is that it gets you up close and personal with your apple tree. You can see all your past pruning mistakes, some scale on a branch, a little bit of blight that needs to be pruned off, and so much more. I will mention that sometimes that little apple just comes right off in your hand while trying to get that bag situated just right. That’s ok, just move onto another apple. You will get the hang of it and be so pleased with yourself.
The paper bags are biodegradable. They will survive even a bit of rain. They might not survive children and dogs, but I usually only lose around three to five bags over the course of the season.
I only have one apple tree right now. It is a Granny Smith, and the bags stay on until harvest. If you have an apple tree with fruit that turns red, you will need to remove the bags a little bit prior to harvest so that they can finish turning color.
The process is not difficult, the supply list is minimal, and the time requirement is not significant given the results.
Below you will find the link to the UC IPM website with information on coddling moths and an additional article from another Master Gardener about her first experience bagging apples.