Build Your Own Bee Nest Block
It's winter and you are looking for a fun indoor activity. Why not build a native bee nest? It's easy and interesting and it will support the pollinators who in turn will support your garden. In this article, I will share with you instructions for building a bee nesting block. have had personal success with these methods. It is what I like to call the “bee condo” which is particularly suited for leaf-cutting bees. Leaf-cutting and other native bees are important pollinators of wildflowers, fruits, vegetables, and other crops. Most native bees nest in either ground tunnels or pre-existing cavities. You can help them out by leaving a patch of your garden untended, providing them with access to soil, stone, pithy plant stems, and dead wood to nest in. I supplement this by hanging these nifty little bee boxes on east-facing fences. The boxes get the morning sun but don't roast with the afternoon heat. I might mention here that I have never been stung by a bee, so encouraging them to nest in my garden has not created more of a concern.
Once you provide the structure for the leaf-cutting bees the rest of the story is quite charming. The accommodations are strictly for female bees, the males have to seek shelter elsewhere. A female bee will climb into the tunnel and build cells for its larvae. She begins in the rear of the tunnel and works forward. She will deposit a single larva and a nutritional pollen loaf for it to eat. Momma Bee then builds a barrier of leaf clutter to seal off that cell and starts the process over again. Does she strategically place the female larvae in the rear and the male larvae in the front? As many as eight cells can be made in one tunnel.
Another important step in this bee-loving necessity is to remove your nest after it has been used for a year. If you leave the nest up for a long time, pathogens that harbor diseases will kill off future larvae and you will defeat the intention of this project. This phasing out of old nest blocks might seem to be a defeat, so you may choose to buy little cardboard liners to insert into the tunnels to increase their longevity. Personally, I have found these purchased parchment cylinders difficult to pull out and replace each year, so I have found it simpler to rebuild my bee boxes.
If you provide some undisturbed soil for groundnesters, some tree clutter for cavitynesters, and a few homemade bee nest boxes you will have assisted over 75% of the thousands of native bees who dwell in these locations. Supporting the next generation of native bees will not only secure their future but also our own, considering that 70% of our food depends on pollination. You can be proud of the contribution you have made to a sustainable future and your beautiful garden.
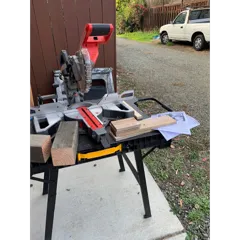
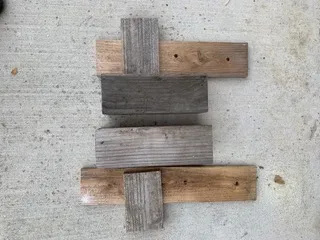
Step one: CUT WOOD
Use untreated wood pieces. Your main box will be 4”x4” and must be longer than 8”.
You will need a matching piece of ½” or ¾” thick stock for the back of the 4x4 (slightly longer than the length of the 4x4) and another short piece for the top to act as a roof overhang.
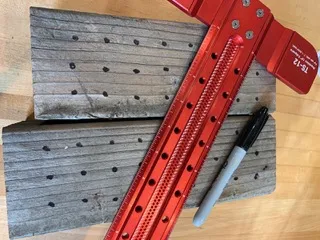
Step Two: Drill holes 3/32” diameter at approximately ¾” centers into the 4x4. In this design, holes should go all the way through the 4x4.
Step Three: Sand the outer rough wood and assemble using screws, not glue.
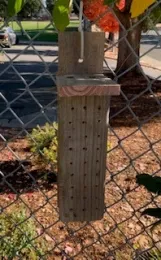
Hang the nest boxes 3' to 6' off the ground in sheltered locations facing east to avoid excessive heat.